Fall Ombre Nails: Fix the Streaky Fade Mistake
Published: 19 Aug 2026
Fall ombre nails bring together warm seasonal shades with a soft, blended finish that feels elegant and effortlessly stylish. However an uneven or streaky fade can quickly take away from the polished look you want. The good news is that you can fix common ombre mistakes with the right color combination, layering technique and blending method. Take a moment to scroll through these fall ombre nail ideas and discover fresh seasonal designs color combinations and easy ways to achieve a smooth streak-free fade.
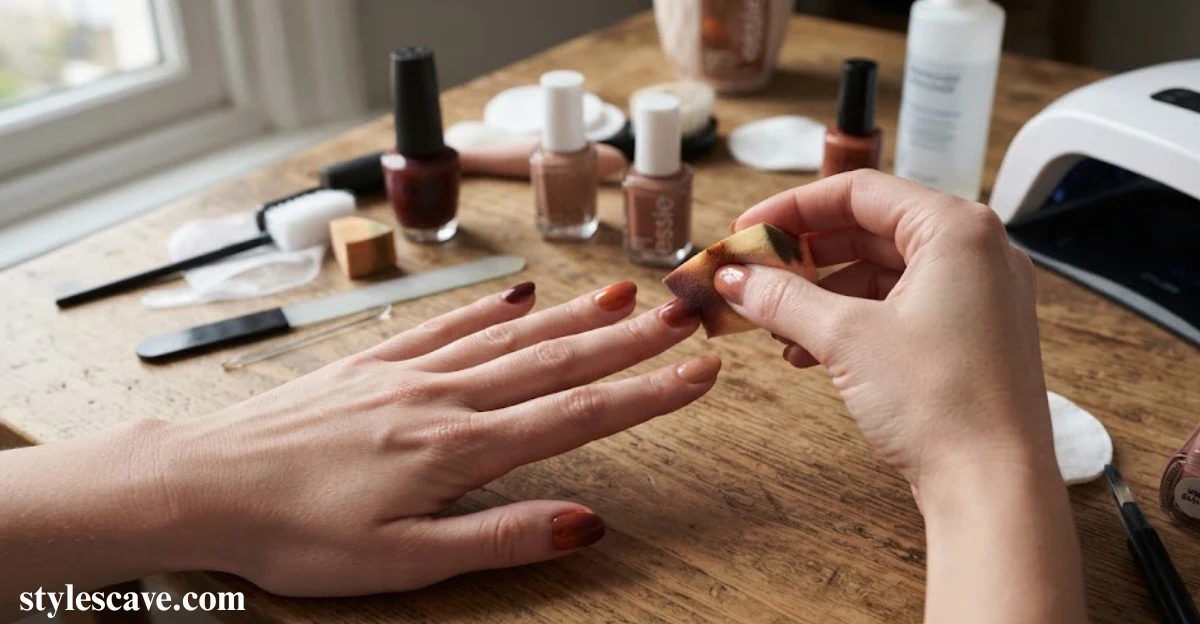
Table of Contents
What You Need for Fall Ombre Nails at Home
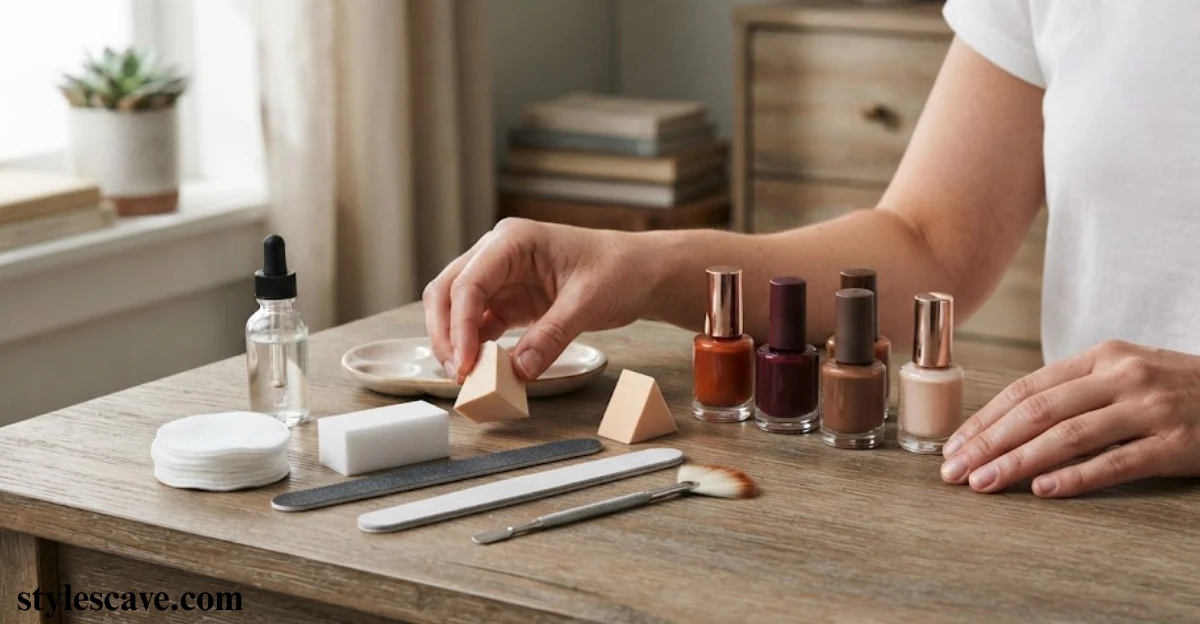
You only need a few essentials to create Fall Ombre Nails at home, including a base coat, two or three coordinating polishes, a small makeup sponge or ombre brush, and a glossy top coat. Choose one blending method before starting, since switching tools can create uneven pigment and a rough finish.
Keep a spare practice nail nearby to test your first application before working on your fingers, especially when using deeper burgundy or mocha shades. A shorter shape works beautifully too, while short fall nails simply need a smaller transition area to keep the gradient balanced and clean.
From my experience, testing the color blend first makes the whole process much easier and prevents unnecessary cleanup. I also find that keeping the tools simple gives the fade a softer finish and makes darker autumn shades look more polished.
How to Do Fall Ombre Nails Step by Step (Sponge Method)
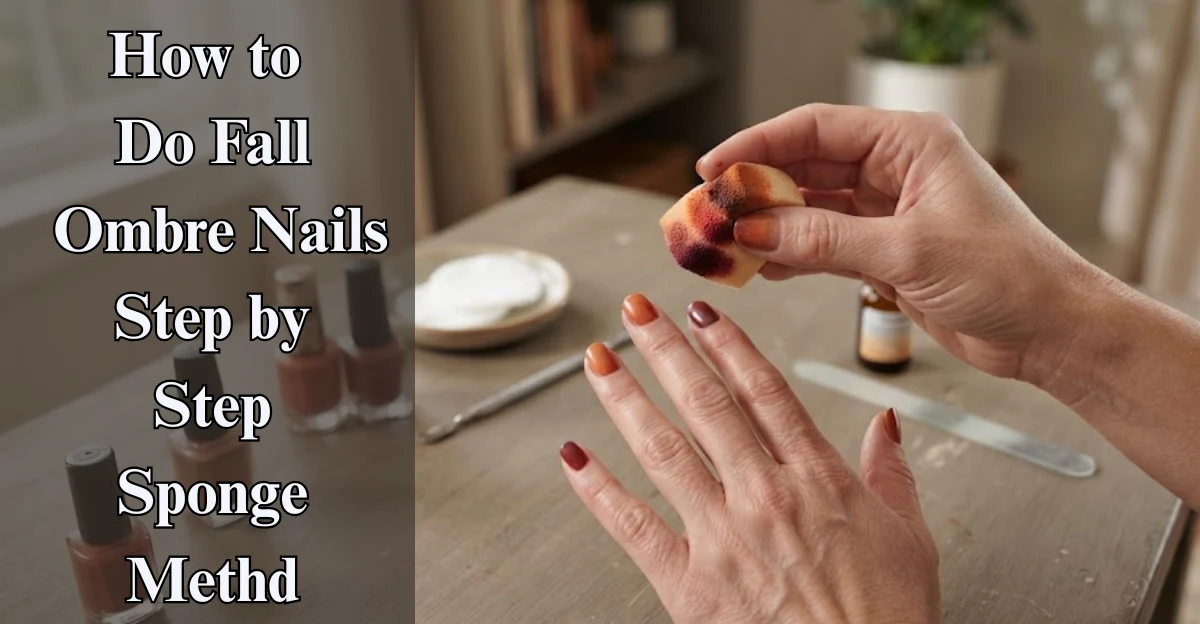
Follow these simple steps to create a smoother, more blended fall ombre manicure at home.
- Start with clean nails and apply a thin base coat to create an even surface. Let it dry properly before moving to the next layer.
- Apply one or two thin coats of your main polish, allowing each coat to dry between applications. Thin layers help prevent a thick or uneven finish.
- Choose complementary seasonal shades such as burgundy, rust, caramel, or warm brown for a softer transition. Similar tones generally blend more naturally.
- Apply the second shade onto a makeup sponge in a neat stripe. Keep the polish fresh so it transfers evenly without creating patchy areas.
- Gently tap the sponge across the nail instead of dragging it from side to side. This tapping motion helps create a softer and more controlled fade.
- Build the gradient with several light passes rather than applying one heavy layer. Use less pressure as you move toward the area where the colors meet.
- Let each layer become slightly tacky before adding another pass. This gives the polish enough grip while helping the shades merge without becoming messy.
- Keep the sponge clean between applications so the colors do not mix excessively. Too much leftover polish can make the ombre look dull or muddy.
- Carefully clean around the cuticles with a small brush dipped in acetone. Removing excess polish before sealing the manicure gives the edges a cleaner appearance.
- Finish with one even coat of glossy top coat once the gradient looks balanced. Apply it gently to avoid disturbing the blended colors underneath.
I’ve found that using less polish and building the fade gradually gives a much smoother result than trying to create the transition in one pass. With darker fall shades, waiting until each layer is slightly tacky also makes the blending noticeably easier.
Fall Ombre Nails with Gel Polish (Different Rules Apply)
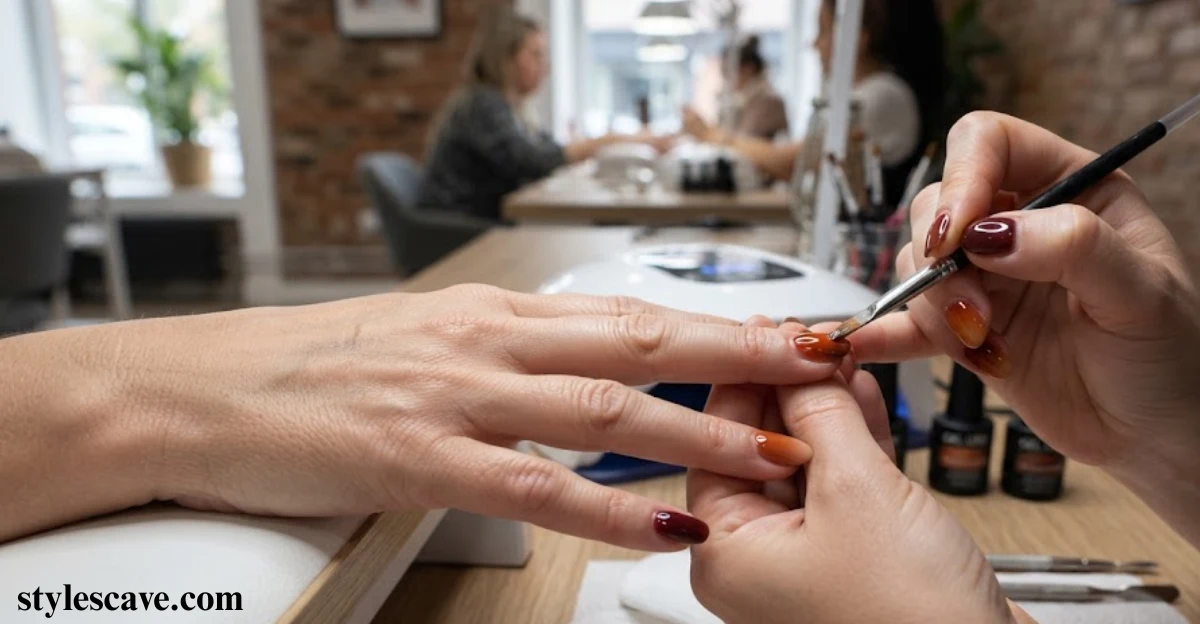
Try these simple steps to blend your favorite fall shades evenly and get a clean, salon-style finish.
Apply the Base Shade
Start with your chosen base color and apply a thin, even layer across each nail. Cure it under the lamp according to the gel polish instructions before continuing.
Choose Your Fall Color Combination
Pair rich shades such as burgundy, rust, brown, plum, or warm nude for a seasonal effect. Similar undertones usually create a more seamless transition.
Use a Stipple Brush
A small stipple or blending brush gives you better control than a sponge when working with gel. It allows you to soften the color gradually before curing.
Place the Second Shade Carefully
Apply the second gel shade near the area where you want the fade to begin. Keep the layer thin so you have enough flexibility to blend the pigment.
Blend With Short Taps
Use gentle tapping motions to merge the two shades rather than brushing them aggressively together. Work slowly around the transition area for better control.
Keep the Gel Uncured While Blending
Do not cure the nail before the fade looks properly blended. Once the gel sets under the lamp, visible edges can become much harder to correct.
Build the Color Gradually
Add another thin layer if the transition looks too light or uneven. Gradual layering gives deeper autumn colors a richer appearance without making the manicure bulky.
Check the Fade Before Curing
Look closely at the nail from different angles before placing it under the lamp. Correct harsh lines or uneven pigment while the gel is still workable.
Cure Each Nail Properly
Once the ombre looks smooth, cure it according to the manufacturer’s recommended time. Proper curing helps the layers stay secure and reduces the need for corrections.
Finish With a Top Coat
Apply a thin, even layer of gel top coat to protect the design and enhance the blended colors. Cure it properly for a smooth, glossy finish.
From my hands-on experience with gel formulas, patience makes the biggest difference when creating deeper fall ombre shades. I find that keeping the gel workable until the transition feels balanced produces a cleaner fade and saves time on corrections.
Best Fall Ombre Nail Colour Combinations
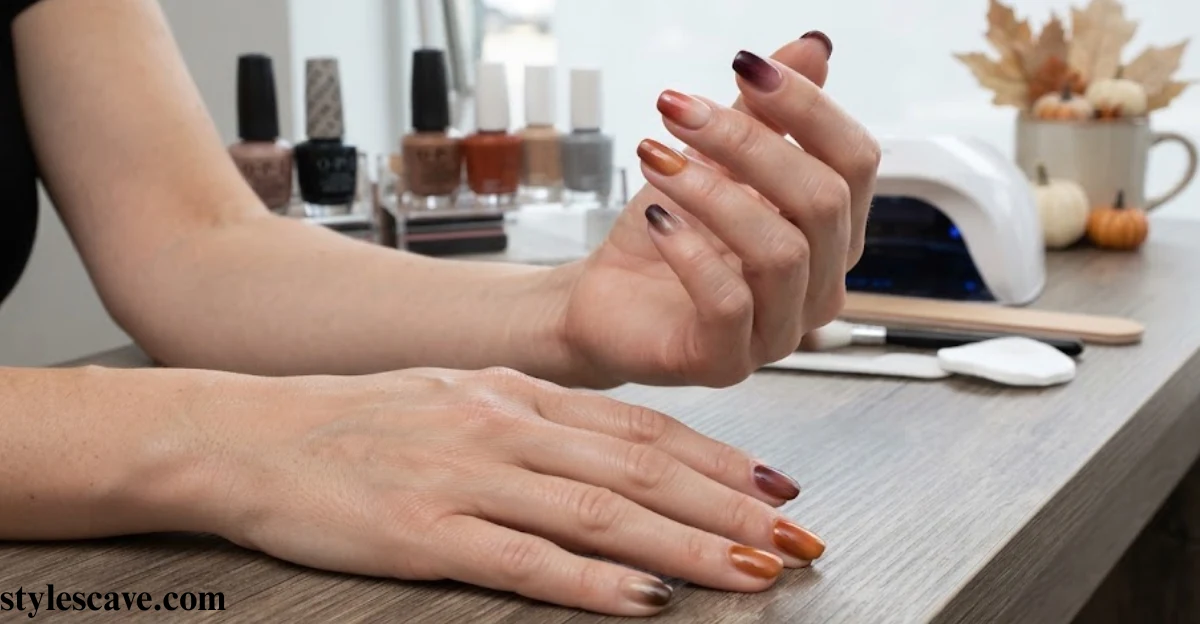
For fall ombre nails, choose shades with similar undertones for a smooth blend. Burgundy with rose, olive with nude, and mocha with caramel create a warm seasonal effect. These combinations help the gradient stay soft without looking muddy.
Rust with amber and caramel with chocolate add deeper dimension while keeping the transition natural. Mocha with cocoa gives a richer appearance, while the nail shape can influence how noticeable the fade becomes. Closely related tones usually create the most balanced result.
Regular nail practice, matching undertones before applying polish, makes blending much easier. Softer colour shifts also give the finished design a cleaner appearance. This approach keeps each shade connected without making the gradient look heavy.
Three-Colour Fall Ombre: How to Avoid the Muddy Middle
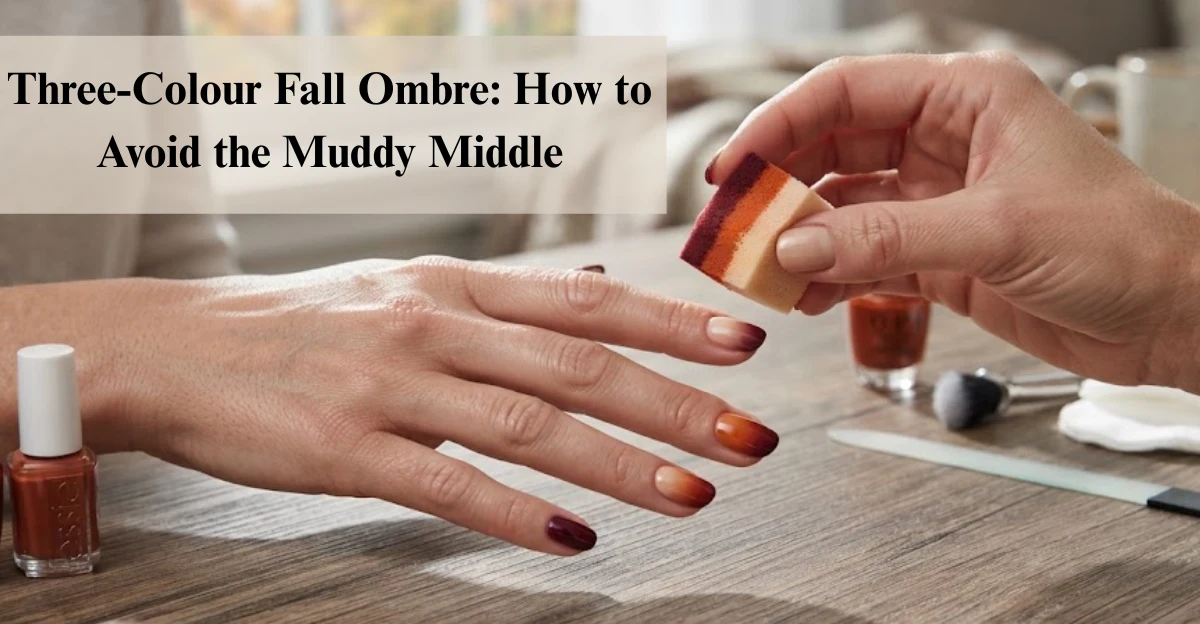
Before creating a three-colour fade, learn what causes the muddy middle and how to keep every fall shade looking rich, clean, and clearly separated.
Why Does a Three-Colour Fall Ombre Look Muddy?
A three-colour fall ombre can become muddy when shades are blended too aggressively or when colors with very different undertones overlap too much. Applying all three colors at once can also make the center look dull, especially with deeper shades such as rust, burgundy, and brown.
Another common reason is using too much polish in the transition areas. Heavy layers can cause the pigments to mix instead of softly fading into one another, while choosing colors with weak contrast can make the individual shades difficult to distinguish.
How to Avoid a Muddy Middle
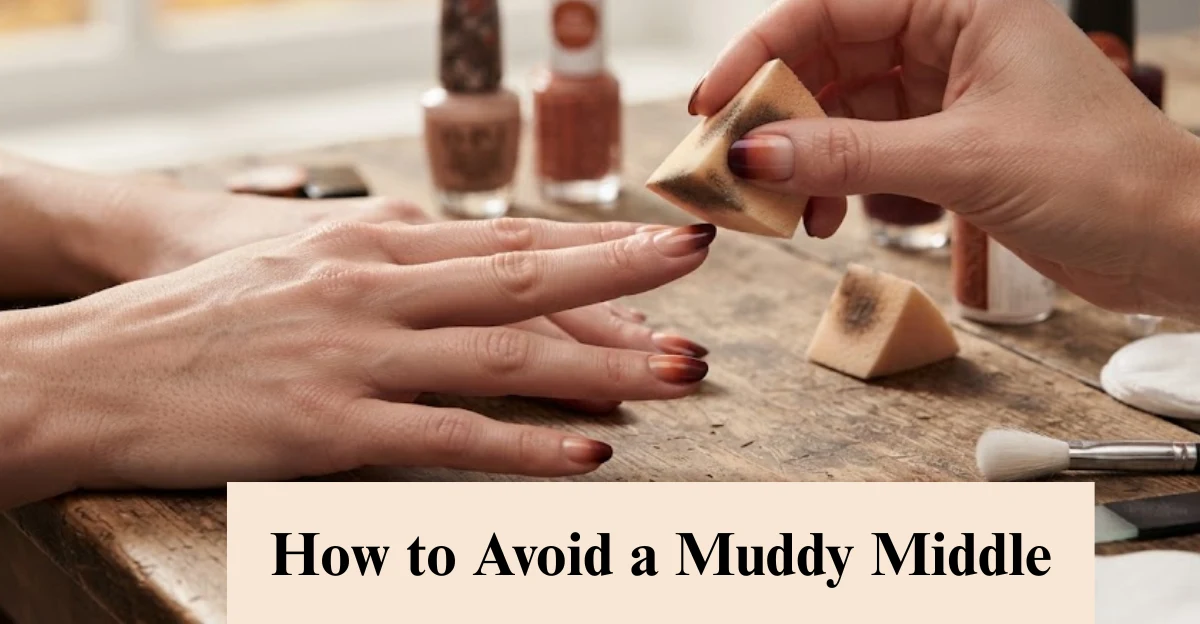
Keep your fall ombre looking rich and seamless by learning how to avoid a muddy middle and preserve a clean transition between every shade.
Blend Two Shades First
Start by creating a smooth transition between your first two colors before introducing the third. This gives you better control over the overall gradient.
Add the Third Color Gradually
Place the third shade lightly near its intended area instead of covering the existing blend. Build the pigment slowly until the color becomes visible without overpowering the other tones.
Keep Each Transition Controlled
Use small tapping motions and a light hand where the colors meet. Avoid repeatedly going over the same area because excessive blending can turn the center dull.
Choose Colors That Work Together
Rust, amber, and gold can create a beautiful autumn combination because they share warm undertones. Keeping the shades visually compatible helps each color remain noticeable.
Consider Your Nail Length
Longer nails provide more space for three shades to appear separately and show their transitions clearly. On shorter nails, using two complementary colors can often create a cleaner result.
From my regular nail practice, I’ve found that treating each color transition separately gives me much more control over three-colour designs. I also use a lighter touch around the center because that is where too much blending can quickly make rich fall shades look dull.
Fall Ombre Nail Troubleshooting: Common Fixes
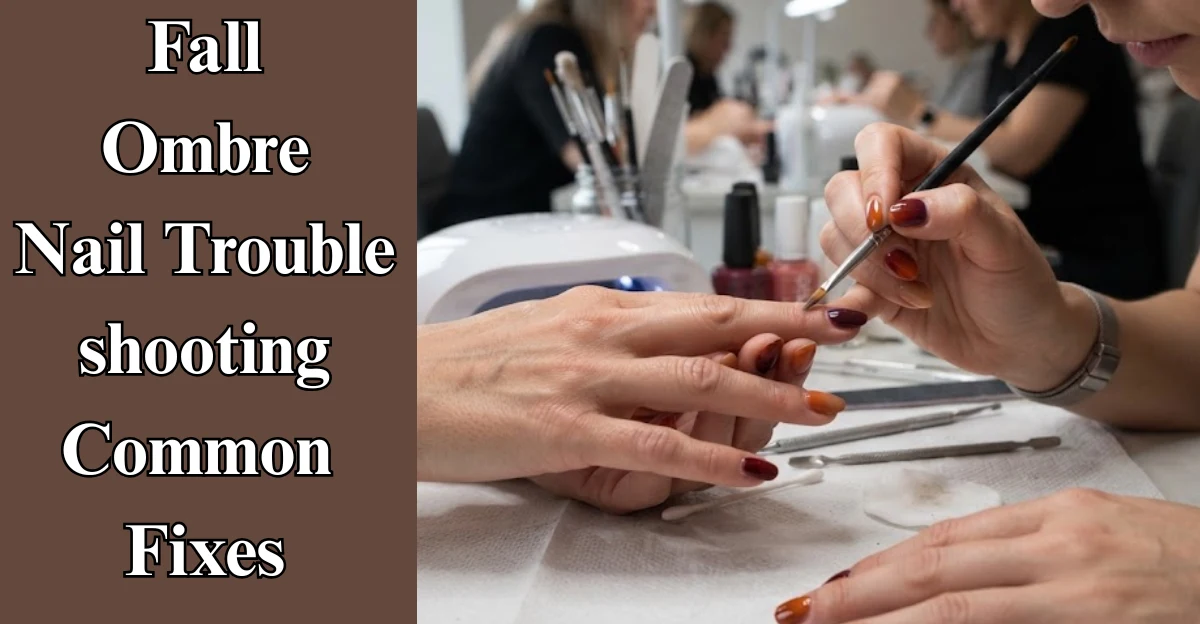
Use these quick fixes to smooth the blend, control the color, and rescue a messy gradient before starting over.
- Check how much polish you are putting onto the sponge because excess product can create harsh edges. A thinner application usually gives the colors more room to blend naturally.
- Give each layer enough time to settle before adding another pass. Rushing through the process can cause the shades to smear and make the gradient look uneven.
- Use colors from the same family when possible, especially for deeper autumn shades. Closely related tones tend to transition more smoothly than highly contrasting colors.
- Pay attention to the pressure you use while sponging. Gentle tapping distributes the pigment more evenly and prevents too much color from collecting in one area.
- Avoid dragging the sponge across the nail because this can pull the previous shade out of position. Short, light taps create a softer transition between the colors.
- If the center starts looking too dark, stop adding polish for a moment and assess the blend. Removing some excess product from the sponge can immediately soften the middle.
- Use a practice nail before working directly on your manicure if you are unsure about the technique. It helps you understand how much pressure and polish create the effect you want.
- Allow the gradient to settle before applying another coat. Adding more color too quickly can cover the softer transition and leave visible patches.
- If the edges become messy, use a small cleanup brush with acetone around the surrounding skin. Cleaning the perimeter can make an imperfect blend look much more polished.
- Once the fade looks balanced, finish with a smooth top coat instead of repeatedly brushing over the gradient. Too much brushing can disturb the carefully blended layers.
In my hands-on nail practice, I’ve found that stopping for a few seconds when the gradient starts becoming too dark can prevent a lot of unnecessary rework. I usually clean the excess polish from the sponge, then return with lighter taps, which gives me a much cleaner and softer fall ombre.
How Long Do Fall Ombre Nails Last?
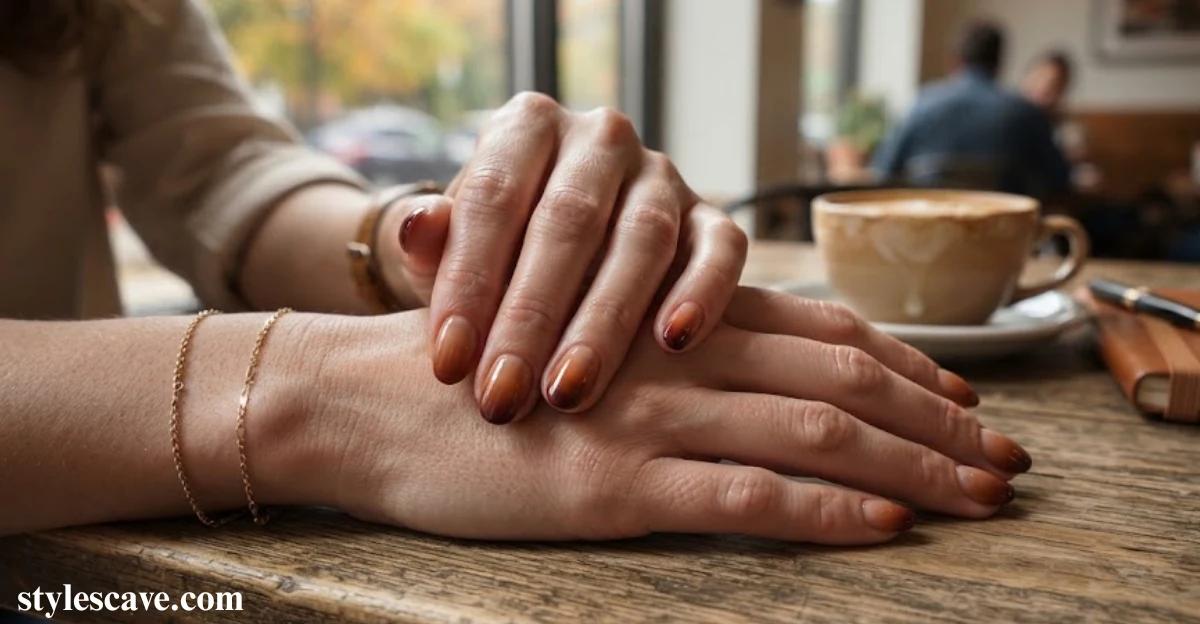
Fall ombre nails with gel usually stay fresh for around two to three weeks when cured properly and sealed with a top coat. Regular polish tends to last five to seven days before wear appears around the tips. Dark shades such as burgundy and espresso can also make small chips less noticeable.
Nightly cuticle oil and gloves during rough chores can help protect the finish for longer. Gel suits anyone wanting lasting results beyond two weeks, while regular polish works well for frequent colour changes. Both options can look neat with proper care.
From regular nail care, proper curing has the biggest effect on lasting wear. Protecting the tips during daily tasks also helps maintain the smooth finish. Simple upkeep can keep the gradient looking polished for longer.
Why Do My Ombre Nails Look Streaky Instead of Blended?
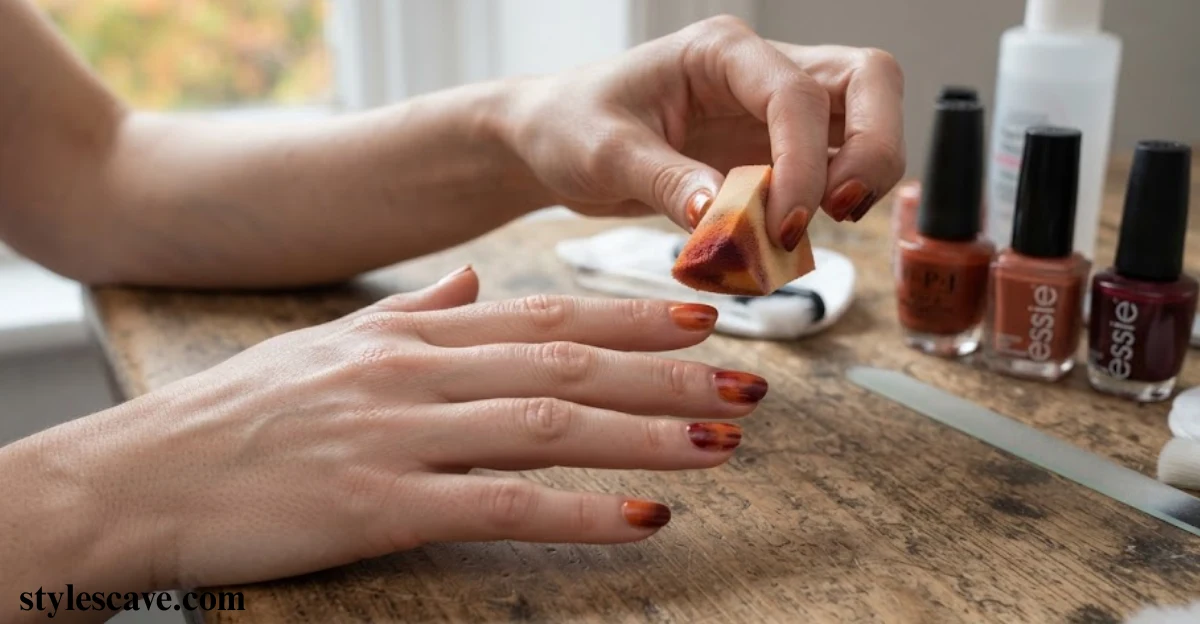
Streaky ombre usually happens when the sponge holds too much polish or gets dragged across the nail. Dark shades make uneven patches more visible because their pigment appears stronger. Light dabbing with thin layers creates the smooth fade expected from fall ombre nails.
Ombre means one colour gradually fading into another on a single nail, while a gradient can include several shades. A muddy finish develops when heavy pigment mixes instead of layering softly. Burgundy and rust need a lighter touch because their deeper tones can quickly form solid patches.
In hands-on nail practice, lighter sponge pressure has consistently created cleaner fades. A nearly dry sponge works well for softening harsh areas. This small adjustment keeps deeper shades smooth without overloading the nail.
Conclusion
Creating a smooth fall ombre becomes much easier once you understand how to control polish, pressure, and blending time. Starting with thin layers helps prevent streaks while keeping each seasonal shade clear and vibrant. Gentle tapping works better than dragging because it creates a softer transition without disturbing the base. Choosing closely related colors also keeps the gradient balanced and prevents a muddy appearance. With regular practice, you can quickly learn how much product your sponge or brush needs. A little patience during each layer can make the final manicure look clean, elegant and professionally finished. These simple techniques can help you enjoy beautiful fall ombre nails that stay polished and stylish.
FAQs
What’s the difference between ombre nails and gradient nails?
Ombre nails usually blend two or more shades from darker to lighter, often across the nail. Gradient nails use a similar fading effect but can involve more colors and different directions.
Is ombre easier with a sponge or a brush?
A makeup sponge is generally easier for beginners because it creates a soft, diffused blend. A nail-art brush offers more control but requires greater precision and practice.
Can you do fall ombre nails on short nails?
Yes, fall ombre nails look beautiful on short nails. Choose closely related shades and keep the fade subtle so the colors blend smoothly without making the nails appear crowded.
What’s the best top coat for ombre nails?
A glossy, self-leveling top coat is a great choice because it smooths the surface and enhances the blended colors. For a softer seasonal look, you can also use a quality matte top coat.
How do you clean up ombre nails around the cuticles?
Use a small cleanup brush dipped in acetone to carefully remove excess polish around the cuticles. For easier cleanup, apply liquid latex or a peel-off barrier around the nail before creating the ombre.






- Be Respectful
- Stay Relevant
- Stay Positive
- True Feedback
- Encourage Discussion
- Avoid Spamming
- No Fake News
- Don't Copy-Paste
- No Personal Attacks
- Be Respectful
- Stay Relevant
- Stay Positive
- True Feedback
- Encourage Discussion
- Avoid Spamming
- No Fake News
- Don't Copy-Paste
- No Personal Attacks
